Azure Inventory Details to CSV — Azure Automation
Azure Inventory Details to CSV — Azure Automation
Written By: Jijo Varghese, Cloud Engineer, Powerupcloud
Below is a step by step by using Azure Automation Hybrid Runbook Workerand a SendGrid account to trigger daily inventory emails. We chose Hybrid runbook instead of a plain Azure automation runbook because we needed local storage to write the CSV file with inventory details before sending it out as an email. So in order to follow this step by step, you need following resources:
- Azure Automation
- Operations Management Suite ( OMS )
- Windows Machine
- Sendgrid Account
Hybrid Runbook Worker feature allows you to run runbooks on machines located in your data center in order to manage local resources. The runbooks are stored and managed in Azure Automation and then delivered to one or more on-premises machines
Installing Hybrid Runbook Worker
Create Operations Management Suite workspace and add Automation solution to Operations Management Suite workspace
- Open OMS Workspace
- Click on Solution Gallery
- Select Automation Hybrid Worker from All Solutions Blade
- Click Add Solution
- This will add Hybrid Worker to OMS Workspace
Next, logon to your windows machine that can be used to run this hybrid runbooks and Install the runbook environment and connect to Azure Automation.
Open PowerShell session in Administrator mode and run the following commands to import the module
cd "C:\Program Files\Microsoft Monitoring Agent\Agent\AzureAutomation\<version>\HybridRegistration"
Import-Module HybridRegistration.psd1
Then run the Add-HybridRunbookWorker cmdlet using the following command. Name is the name of the Hybrid Runbook Worker Group, EndPoint is the URL field in the Azure Automation Account and Token is the Primary Access Key in the Azure Automation account
Add-HybridRunbookWorker –Name <String> -EndPoint <Url> -Token <String>
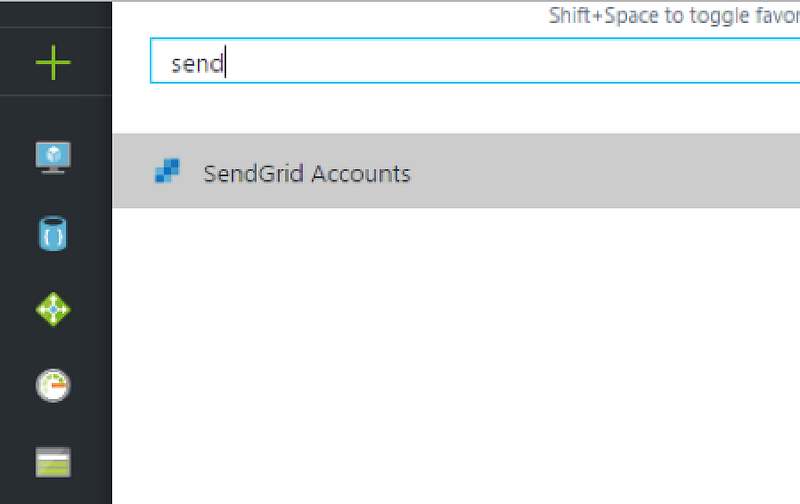
Create a SendGrid Account
You need SendGrid so that you can send emails. Go to Azure console and look for all services and search for SendGrid.
Give a Name and password for the sendgrid account. Select an existing Subscription and Resource Group. Once provisioning is done, you might want to note down the Username and server name from properties.
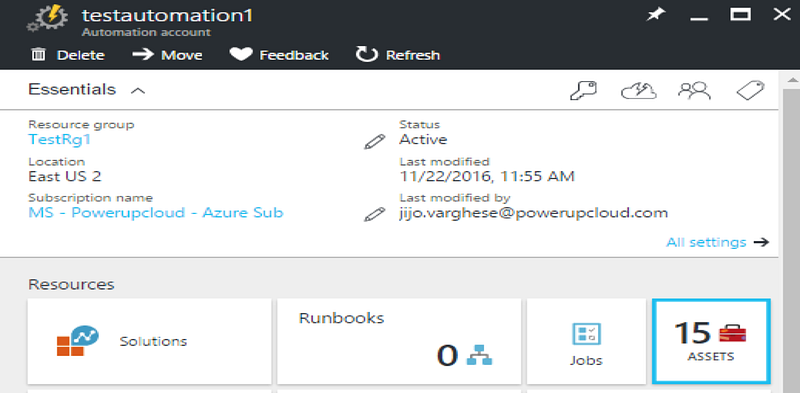
Create Azure Automation Account
- On the hub menu, click New -> Automation Account -> select Automation Account here.
- Now in Create Automation Account blade , enter the following things: Give a name to Automation Account.
- Select your azure subscription from the dropdown box.
- Select option use existing and then select the resource group from the drop down box or Create new resource group
- Then select the location from where it has to be hosted.
- Be sure to Create Azure run as Account. Click Yes to Create a Azure run as Account.

And then click create to launch the Automation Account.
Add Automation Credentials
- On the Automation Account Blade, Click on Assets -> Credentials -> Add Credentials
- Give a friendly name. By Default it as Default Azure Credential.
- Give the username and password of your Azure Credential. Then Click Create

Create Automation Runbook
- On the Automation Account Blade Click On Runbooks-Add Rubook
- Give a name and select Runbook type as Powershell. Then Click Ok
- Open the created runbook.
- Click on Edit and use the following powershell script to get all running azure resources using powershell
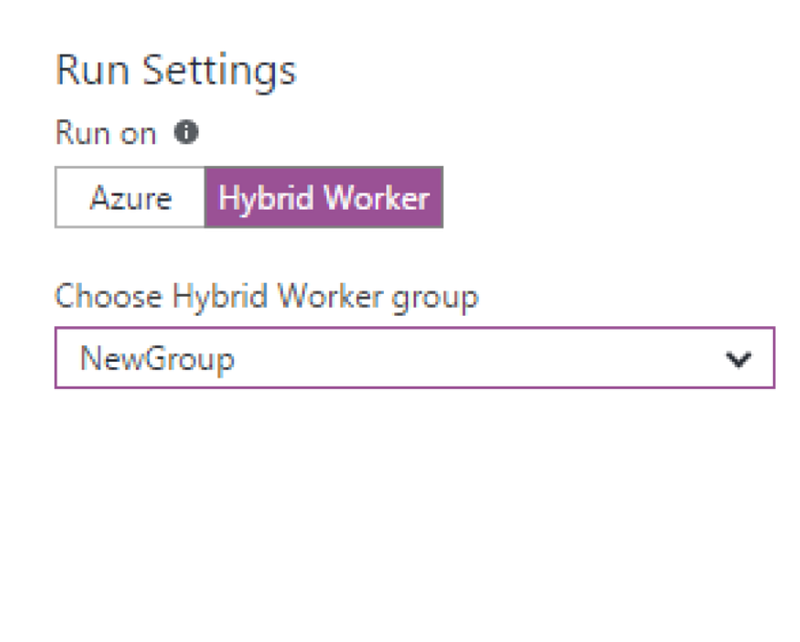
Before running the Powershell script Select Run Setting as Hybrid Worker and select the Hybrid Worker
Then run the Powershell Script. You can schedule it to Particular day and time. This will automatically run the script at the Scheduled time.
This code will generate a .csv file contain all running resources in azure and stores in our Server where our Hybrid worker running. Then Using SMTP it will send the created csv file to the specified email address.
Apart from inventory, if you would like to track the list of all open ports on a network security group, Powershell below:
Thats it. Hope you found this useful!

Comments
Post a Comment