AWS-Getting Started with Kubernetes in AWS
Getting Started with Kubernetes in AWS
Priyanka Sharma, kicks of a series of posts dealing with running Kubernetes in production on AWS with this introductory article. Stay tuned for more!
If you are reading this article, chances are you know Kubernetes already. It has Google’s enigma behind it and is a leader in container orchestration space. But for beginners, I will go ahead and state it. Kubernetes is an open-source platform for automating deployment, scaling, and operations of application containers across clusters of hosts, providing container-centric infrastructure.
With Kubernetes, you will be able to quickly and efficiently respond to scaling demands:
- Deploy your applications quickly and predictably.
- Scale your applications on the fly.
- Seamlessly roll out new features.
- Optimize use of your hardware by using only the resources you need.
Downloading Kubernetes
So lets get straight ahead with exploring Kubernetes. Download Kubernetes package
wget -q -O — https://get.k8s.io | bash
Go to the cluster directory of your kubernetes. There you can see the different environments available for kubernetes.

In this blog, we are focusing on creating the cluster in AWS environment. The default configuration can be found in the “aws” directory. Either you can change the configurations in the default file itself or you can export the required variables to bring up the cluster. To export the variables, we have created a file “export.sh” with our required configurations. Btw, don’t take the instance types in config below seriously, you should choose the right instance type depending on your cluster setup and workload.
#!/bin/bashexport KUBERNETES_PROVIDER=awsexport KUBE_AWS_ZONE=us-east-1cexport NUM_NODES=2export MASTER_SIZE=m3.mediumexport NODE_SIZE=t2.mediumexport AWS_S3_REGION=us-east-1export AWS_S3_BUCKET=kubernetes-puc01
Export all these variables by executing this file:
source ./export.sh
Now, bring up the cluster by executing the following command from the cluster directory i.e. /opt/kubernetes/cluster
./kube-up.sh
Once the cluster is launched, we will get the endpoints as shown in below screenshots:
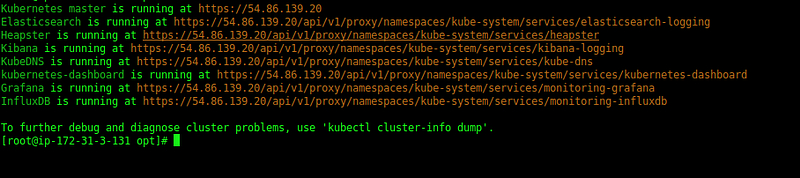
Hit the kubernetes-dashboard URL to access the dashboard.

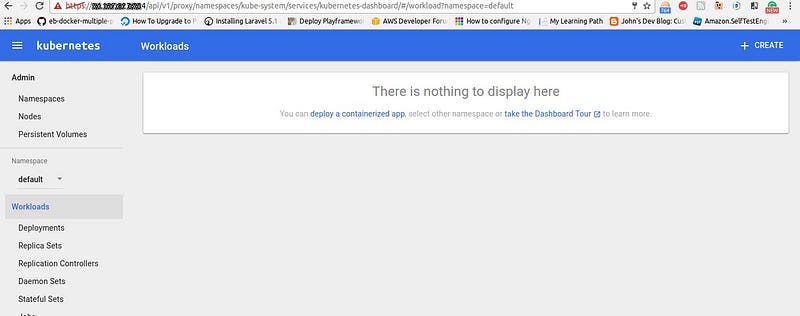
Get the username and password from the /root/.kube/config file. After providing the credentials, we will get the kubernetes dashboard as shown below:
Installing kubectl
This is straight forward — Follow this link for installing kubectl in your system:
Creating Deployment in Kubernetes
We are going to build a sample java application. For this, we have Dockerfile as mentioned below:
FROM tomcat
RUN apt-get update
RUN apt-get install -y zip curl wget
RUN wget https://github.com/manulachathurika/Apache_Stratos_Tomcat_Applications/raw/master/Calendar.war -O /usr/local/tomcat/webapps/Calendar.war
CMD ["catalina.sh", "run"]
Build the docker image using command:
docker build -t <tag-name> .
Push the image to docker hub:
Push the image to docker hub:
docker push <tag-name>
- Deploy the Docker image in Kubernetes
We have two options available for deploying an application in Kubernetes:
- Either through dashboard
- or through a yaml file
Deployment through Kubernetes Dashboard:
The interface looks kind of like Google Cloud Console. That’s right, its Google all the way. Click Create. and Specify the Docker Image and type of service you want.
- Internal: Exposes the service on a cluster-internal IP. Choosing this value makes the service only reachable from within the cluster. This is the default ServiceType.
- External: Exposes the service externally using a cloud provider’s load balancer. The service will be accessible from outside the cluster.

Deployment through a yaml file:
Create a yaml file which includes the deployment details such as the name, docker image to use, the ports to expose etc. Refer to the following sample file which we have used for the deployment of a java application:
Also, we have specified the resources we want for our deployment by using limits and requests in the yaml file. Once we are ready with our yaml file, either you can deploy it through dashboard:

or through kubectl command:
kubectl create -f example.yaml
We have specified the name of our deployment i.e. tomcat01 in the selector for which we are going to create a loadbalancer type service. Create the service using command:
kubectl create -f service-example.yaml
Go to Services Dashboard. You will get an external endpoint through which your application will be accessible.
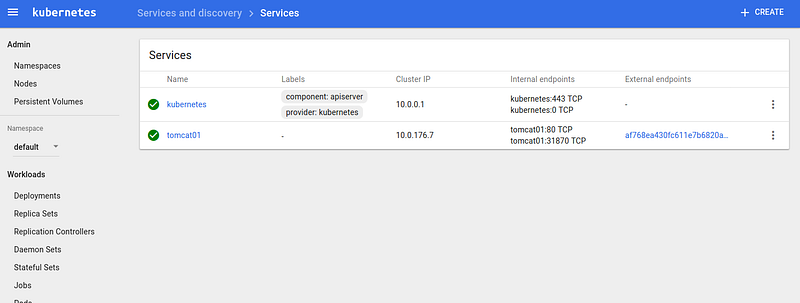
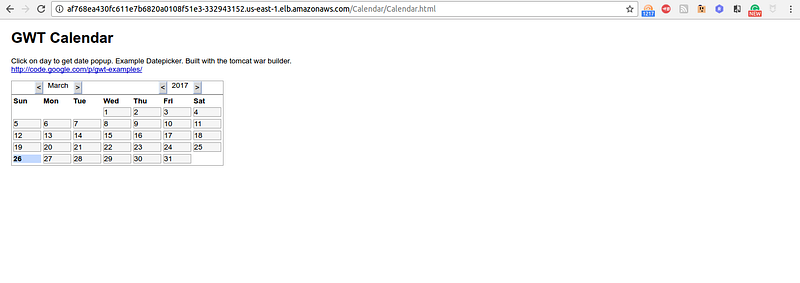
Hit the endpoint.
Get the existing deployments using command:
kubectl get deployments
Get the existing services using command:
kubectl get services
If you want to get the services across all namespaces, use command:
kubectl get services — all-namespaces
So, this is all about how you can create the deployments in Kubernetes cluster and how you can access them externally. Keep following our blog for further parts on Kubernetes. Happy container orchestration..!!

Comments
Post a Comment